A Beginner's Guide To Building Your Own PC
Building a PC can be an overwhelming
task, especially if you are new to the world of computer hardware.
But building your own computer can be a rewarding experience, and it
is not as difficult as you might think. With some basic knowledge and
the right tools, you can build a computer that is tailored
to
your specific needs and budget. In this beginner's guide, we will
walk you through the process of building your own PC, from choosing
the right components to assembling them together.
Are
you tired of using a slow and outdated computer that struggles to run
the programs you need? Do you want to save money by building your own
computer instead of buying an expensive pre-built one? Then, read on
to learn how you can build your own PC in a few simple steps.
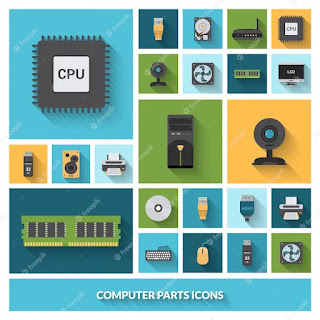
Choosing the Right Components
The
first step to building a PC is to choose the right components. There
are several key components that you will need to build a computer,
including a motherboard, CPU, RAM, storage, graphics card, power
supply unit (PSU) and network
cable.
Here is a brief overview of each
component:
Motherboard:
This is the main circuit board that connects all the other
components. It also determines which CPUs and RAM you can use.
CPU: The CPU (Central Processing Unit) is the brain of your computer. It determines how fast your computer can process information.
RAM:
RAM (Random Access Memory) is the temporary memory that your computer
uses to run programs and store data.
Storage: Storage is where you store all your files and programs. You can choose between a hard disk drive (HDD) or a solid-state drive (SSD).
Graphics
Card: The graphics card (also known as the GPU) is responsible
for rendering images and videos.
Power
Supply Unit (PSU): The PSU is responsible for supplying power to
all the other components.
When choosing these components, you need to make sure that they are compatible with each other. You can check the compatibility of your components by using PCPartPicker, a free online tool that helps you build a PC.
Assembling
the Components
Once you have all the components, it's time to assemble them together. Here are the steps you need to follow:
Step
1: Install the CPU on the motherboard. You will need to remove
the CPU socket cover, align the CPU with the socket, and then lock it
in place.
Step
2: Install the RAM on the motherboard. You will need to open the
RAM slots, align the notches on the RAM with the notches on the
slots, and then press down until the clips snap into place.
Step
3: Install the storage on the motherboard. You will need to
connect the storage device to the SATA port on the motherboard and
the power cable from the PSU.
Step 4: Install the graphics card (if you have one) on the motherboard. You will need to insert the graphics card into the PCI Express slot on the motherboard and secure it with screws.
Step
5: Connect the PSU to the motherboard and other components. You
will need to connect the motherboard, CPU, graphics card, and storage
to the PSU using the appropriate cables.
Step
6: Turn on the computer and install the operating system. You
will need to insert the operating system installation media (such as
a USB drive or DVD) and follow the on-screen instructions to install
the OS.
Tips for Building a PC
Here
are some tips that will help you build your PC more efficiently:
Make
sure to ground yourself before touching any components to prevent
static electricity from damaging them.
Read
the manuals that come with your all
PC components to ensure that you are installing them
correctly.
Take your time and be patient. Building a PC can take a few hours.


Comments
Post a Comment